How & Why a Pattern Size Changes, About Weaver's Cloth, & Pattern Transferring Tips.
CONTENTS:
- Punch Needle Size Changes, What is the Warp & Weft of fabric and Why is that Important in Punch Needle Art?
- What is a good quality Weaver's Cloth fabric for (Thread) Punch Needle Art?
- Pattern Transferring Tips.
- How & Why the Size Changes in a Finished Punch Needle Design.
What is The Warp & Weft of Weaver's Cloth?
How does the Warp & Weft Weave of the fabric affect your finished Punch Needle Artwork?
What is Warp?

What is Weft?
The Weft of the fabric has a small amount of stretch and runs horizontally across the material. This is woven through the Warp threads creating the weave.

A good way to further understand Warp & Weft is to visualize a loom and how the first set of threads that run up and down vertically on the loom is the Warp threads in the weave.
The Weft threads are woven through the Warp threads horizontally across the fabric, creating the weave.
So, now that you understand the basics about Warp and Weft, what’s the big deal?
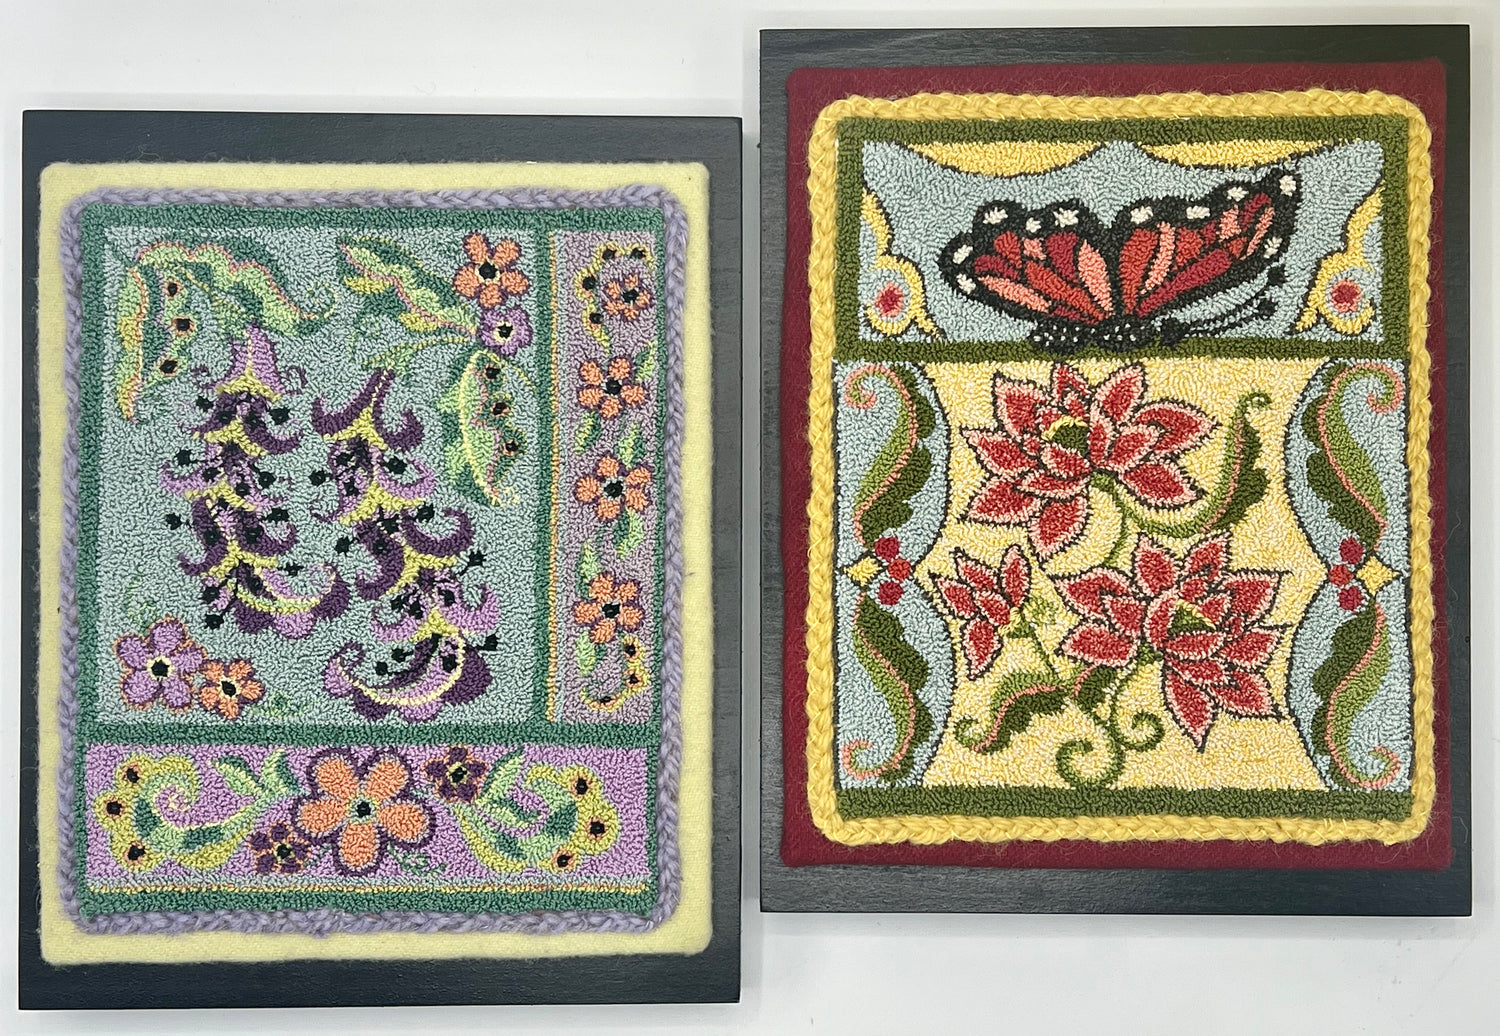
If you look at the below picture, you will see the difference. These patterns are the same size on the paper but drawn on the Weavers cloth with the Warp and Weft going in different directions. As you can see, there is a noticeable difference in the finished size and shape.

The design on the left, the Weavers cloth's Weft or (stretch), runs from top to bottom with the Warp going side to side. This makes the pattern grow in the direction (Weft-wise), making the design taller and thinner when finished.
The other pattern was drawn on the Weavers cloth fabric with the Weft or (stretch) going side to side and the Warp going top to bottom, making the design grow wider - once again (Weft-wise) when finished.
A Punch Needle pattern will grow Weft-wise, whichever direction the stretch is going, and the will shrink (slightly ) Warp-wise, the little to no stretch direction.
So, the size of your completed punch needle design will be different than the original paper pattern size.
The patterns are drawn straight on the Weaver's Cloth fabric, but the material was turned in with the Warp and Weft going in different directions for each design, creating the difference in shape and size.
Warp and Weft are essential to consider before you draw a pattern(s) onto your Weaver’s cloth, especially if you are making a pair of designs and want them to be the same size when finished. Therefore, ensuring the Warp and Weft go in the same direction for both patterns would be best.
The other thing to consider when transferring your design onto the Weaver's cloth and knowing that the size will change in your finished piece is which way you prefer the pattern to grow- Taller or Wider? This can be important if you have a specific frame or place you want to use for the finished design.
Weaver's Cloth
What is a good quality Weaver's Cloth?
One of the most commonly used fabrics for (Thread) Punch Needle Art is Weaver's Cloth. Therefore, a good quality Weaver’s Cloth blend of 55% Polyester and 45% Cotton is essential.
The cotton/polyester blend allows the weave to stretch open when the threaded punch needle is inserted and retracts around the thread loop when the needle is removed, holding it in place. In addition, the elasticity of the polyester in the weave prevents the threads from breaking. This expansion and contraction of the weave help keep the thread loops in place without damaging the weave.
Transferring Pattern Tips
When drawing a pattern onto Weaver’s Cloth, always make sure you draw the design straight on the grain of the weave. This means the threads run vertically and horizontally, not at an angle, with the design positioned straight with the lines.
Tracing the pattern using a Lightbox and a black Micron 05 pen is helpful. This pen does not bleed like a Sharpie pen and has a fine point, perfect for tracing punch needle design onto Weaver’s Cloth. Light-boxes and Micron pens can be found easily on Amazon.com. If you plan on drawing your punch needle designs, both items are worth the investment. Also, light boxes are available in several sizes and are reasonably priced.
How & Why the Size Changes
So we know that a Punch Needle Pattern changes in size due to the Warp and Weft of the Weaver’s Cloth and by adding punched threads into the fabric, but how much does it change?
The Pattern size changes I have found vary from gaining 3/8 to over 1/2 inch in the Weft-wise (stretch) direction and shrinking about 1/8 to 1/4+ in the Warp-wise direction. The amount of change in size will also vary due to the size of the pattern.
For Example, A small Punch Needle Pattern 3 3/8 x 3 3/4 is drawn on the fabric with the Warp running from side to side and the Weft running from top to bottom. When the pattern was finished, the size had changed, to 3 1/4 x 4 1/8, shrinking in width by 1/8 and growing in length 3/8 of an inch.
In Conclusion:
The direction of the fabric’s Weft (stretch) will expand, and the direction of the Warp (which has little or no stretch) will shrink slightly once you complete the punch needle design.
I hope you have enjoyed learning about Warp & Weft and better understand why size changes happen in your finished Punch Needle designs. Knowing the direction of the Warp & Weft will indicate which way your pattern will expand and slightly shrink. In addition, if you create a pair of designs, you know how to place the patterns on the fabric to ensure they will be the same size when finished.
Copyright © 2023 By Kelly Kanyok - All Rights Reserved
Collections
-

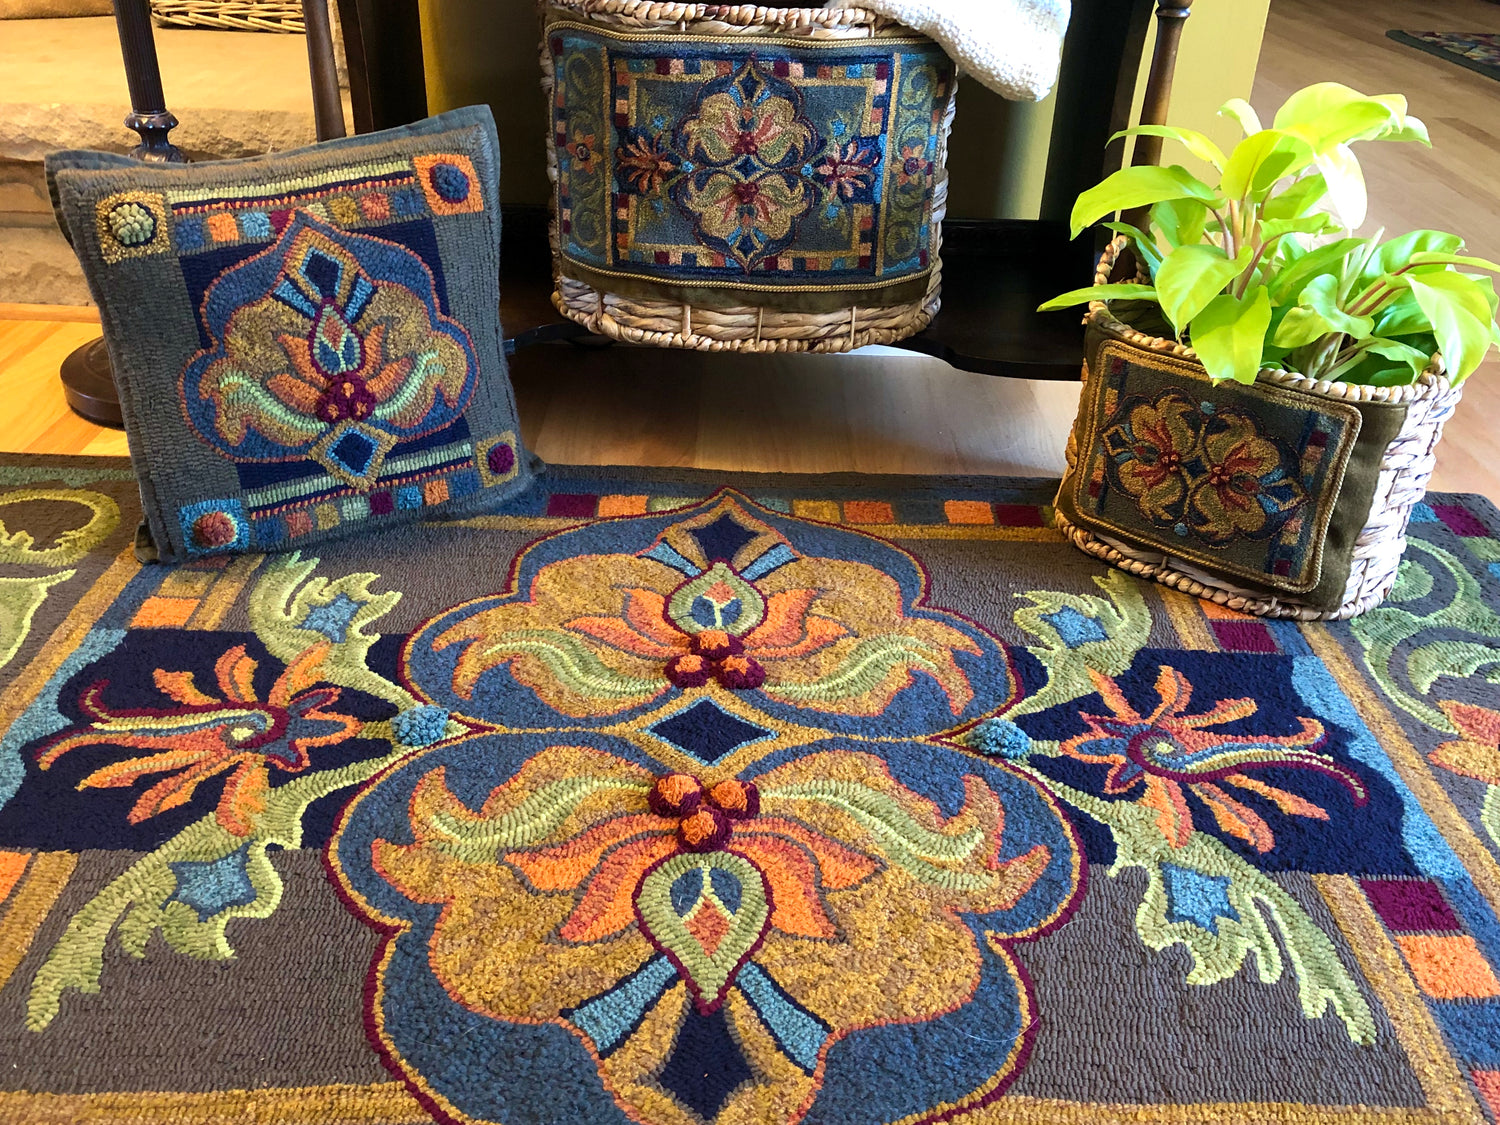
Floral & Plant Pattern Collection- Punch Needle
This is a Collection of Punch Needle Patterns with a floral design...
-
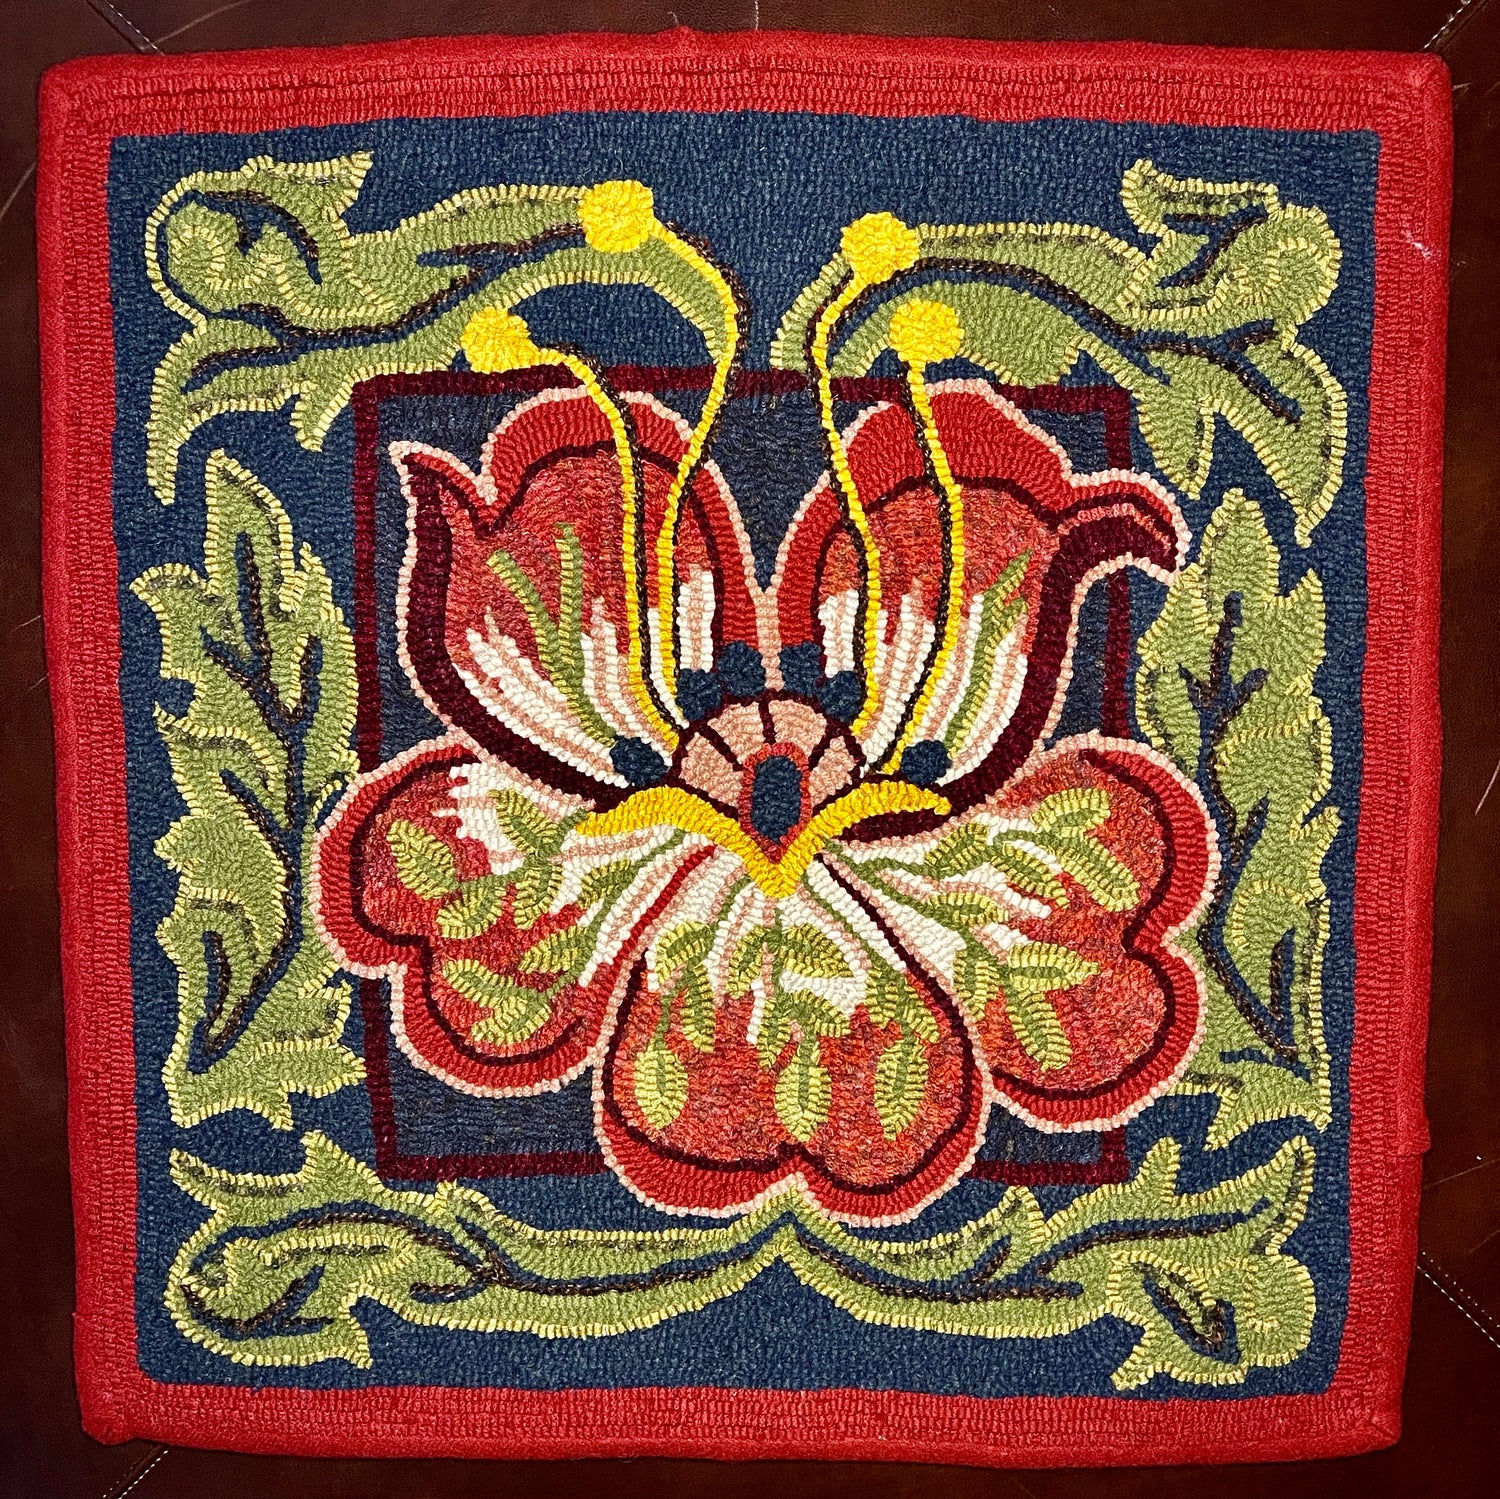
Floral & Plant Pattern Collection -Rug Hooking
A Collection of Rug Hooking Patterns Designed with Floral and/or Plant design...
-

Geometric Pattern Collection- Punch Needle
This is a Collection of Punch Needle Patterns with a Geometric Design or...
-
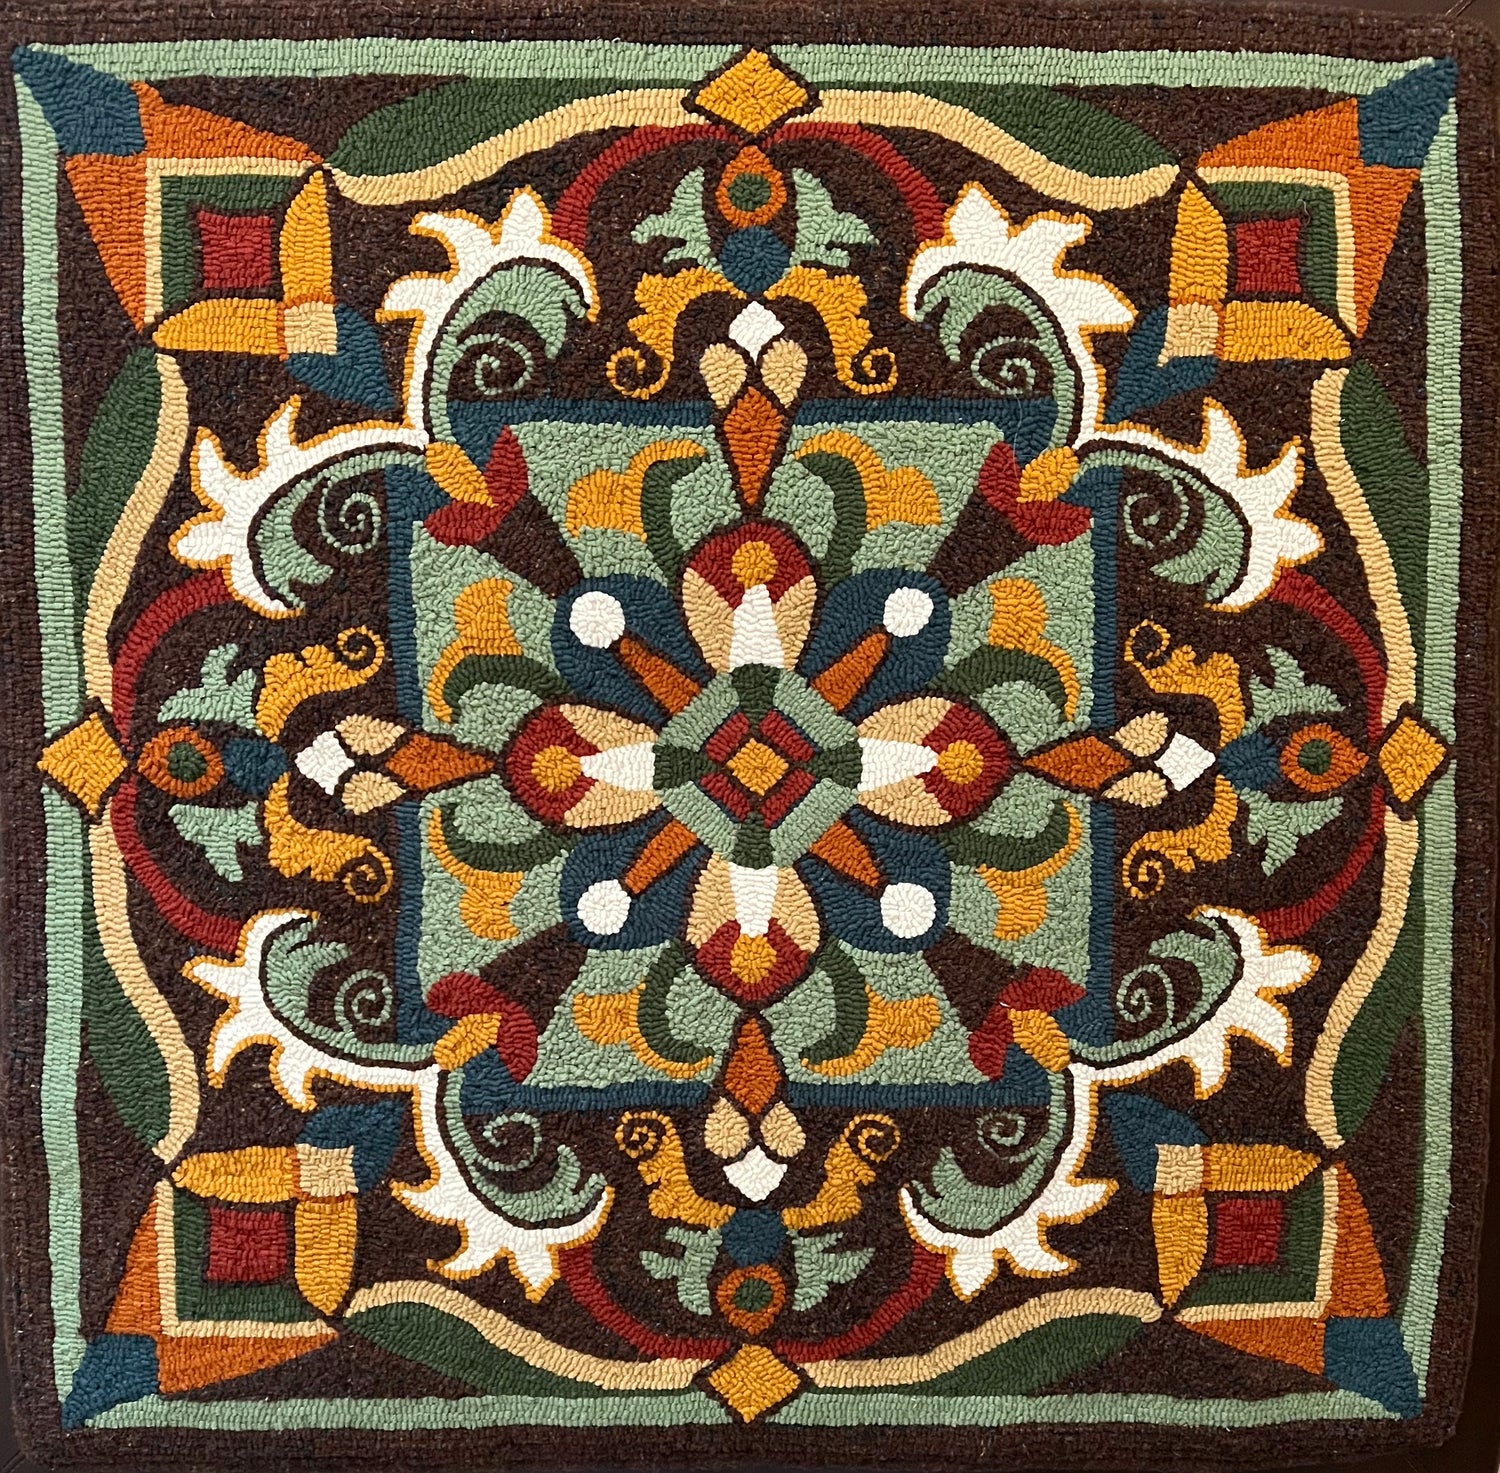
Geometric Pattern Collection-Rug Hooking
This is a Collection of Rug Hooking Patterns with Geometric design elements...
-
Seasonal or Series Collections- Punch Needle
This Collection of Punch Needle Patterns is a Seasonal Design or designed...
-
Seasonal and/or Pattern Series Collection-Rug Hooking
This Collection of Rug Hooking Patterns is Seasonal and/or created as a ...
-
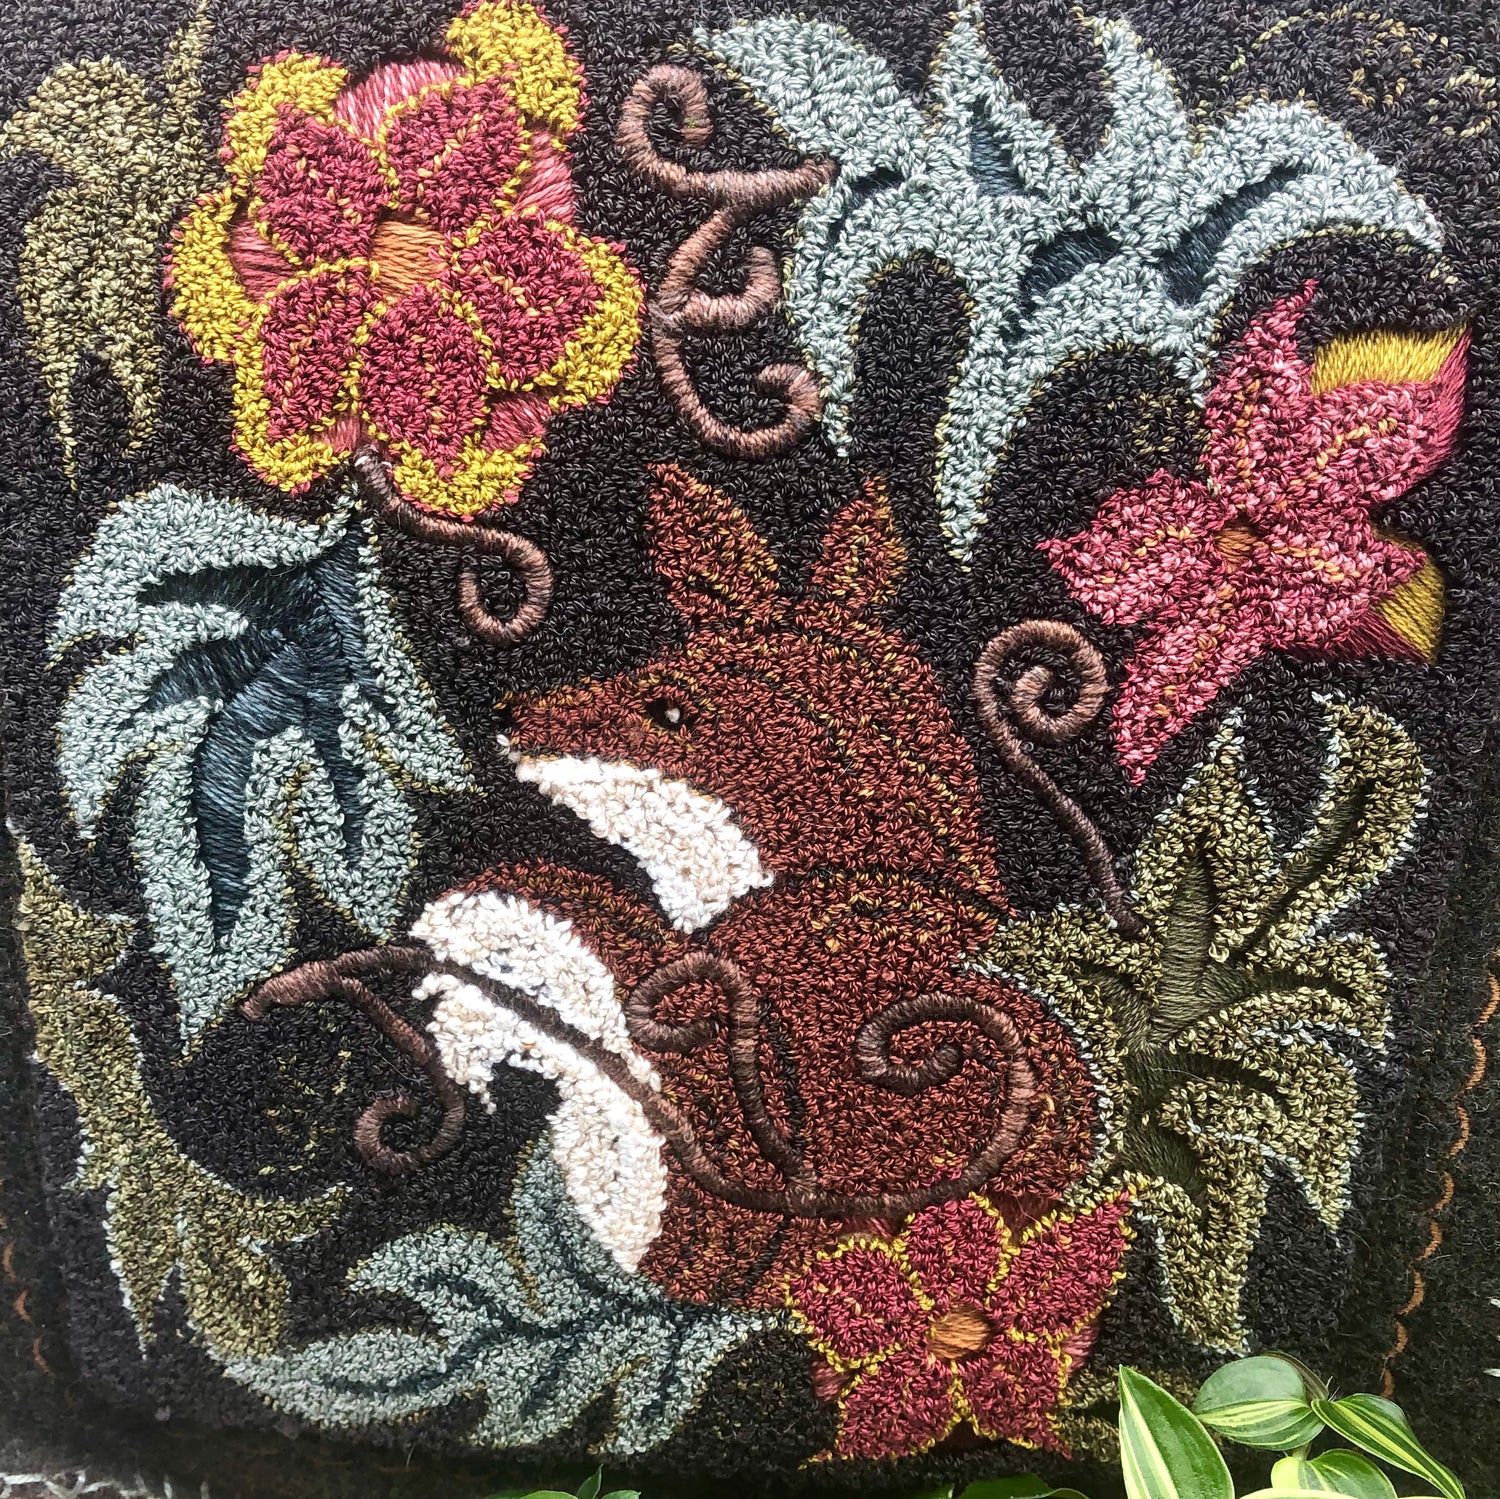
Wildlife & Insects Collection- Punch Needle
This is a Collection of Punch Needle Patterns featuring Animal Wildlife or...
-
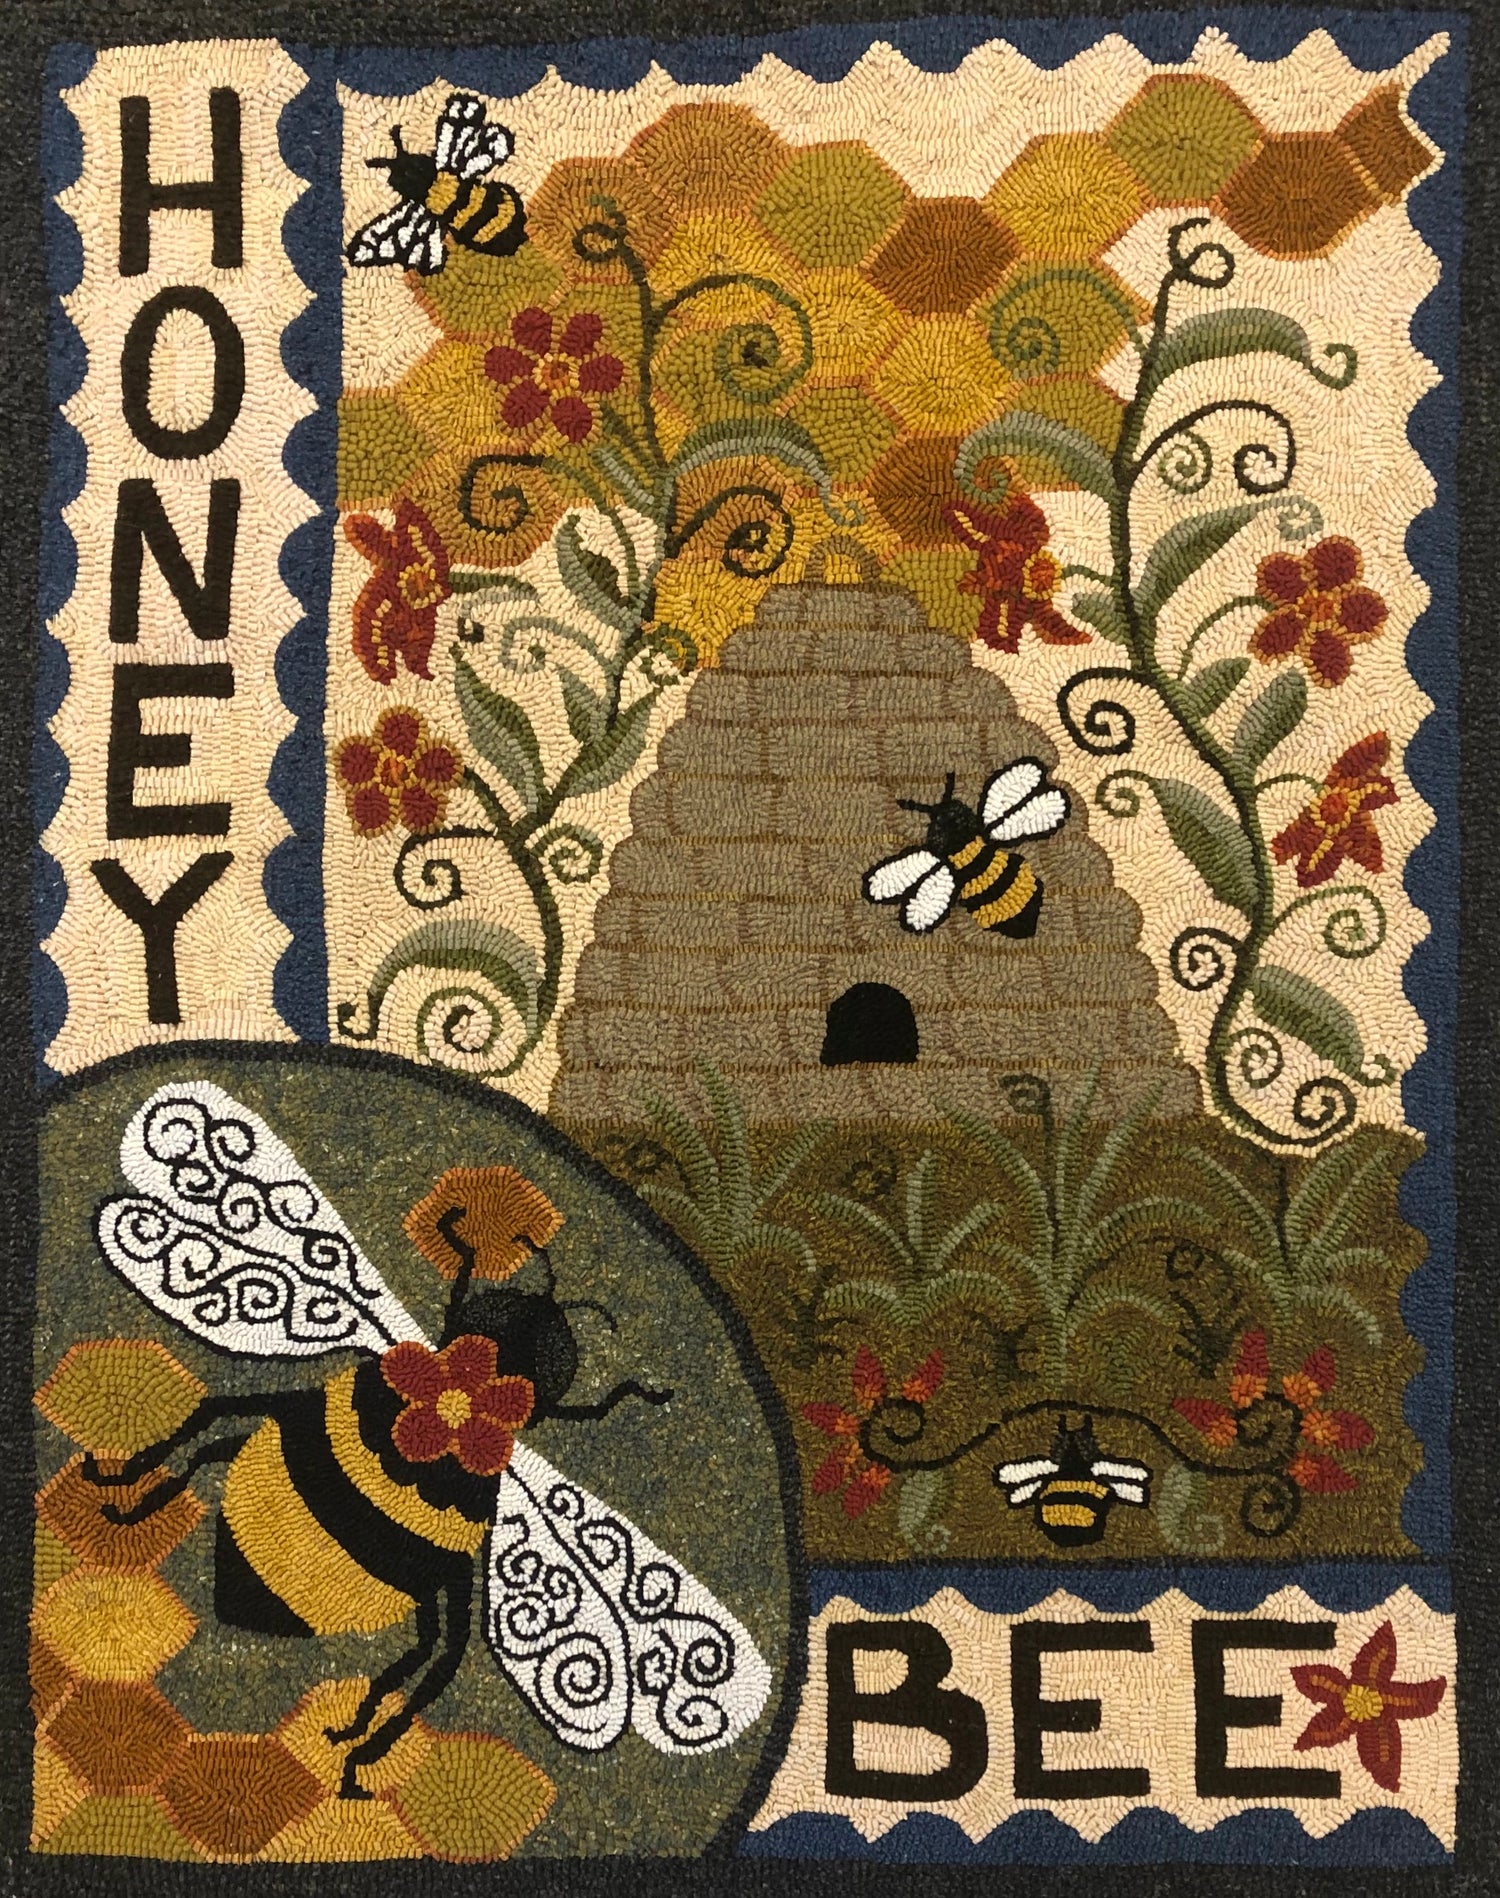
Wildlife and/or Insect Pattern Collection-Rug Hooking
A Collection of Rug Hooking Patterns with Wildlife and/or Insects elements designed...


